How to Vinyl Wrap a Car | Step-by-Step Guide
December 16, 2024 Author: Carrectly
How to Vinyl Wrap a Car: Step-by-Step Guide
Vinyl wrapping has become an increasingly popular option for vehicle owners looking to protect their car’s paint while adding a unique, customized look. Whether it’s for changing the color, applying custom graphics, or simply preserving the paint from damage, vinyl wraps offer versatility and protection without the permanence of a traditional paint job. In this article, we’ll explore the benefits of vinyl wraps, provide a detailed step-by-step guide on how to wrap a car, and explain why hiring professionals is often the best approach for achieving flawless results.
What is Vinyl Wrapping and Why is it Popular?
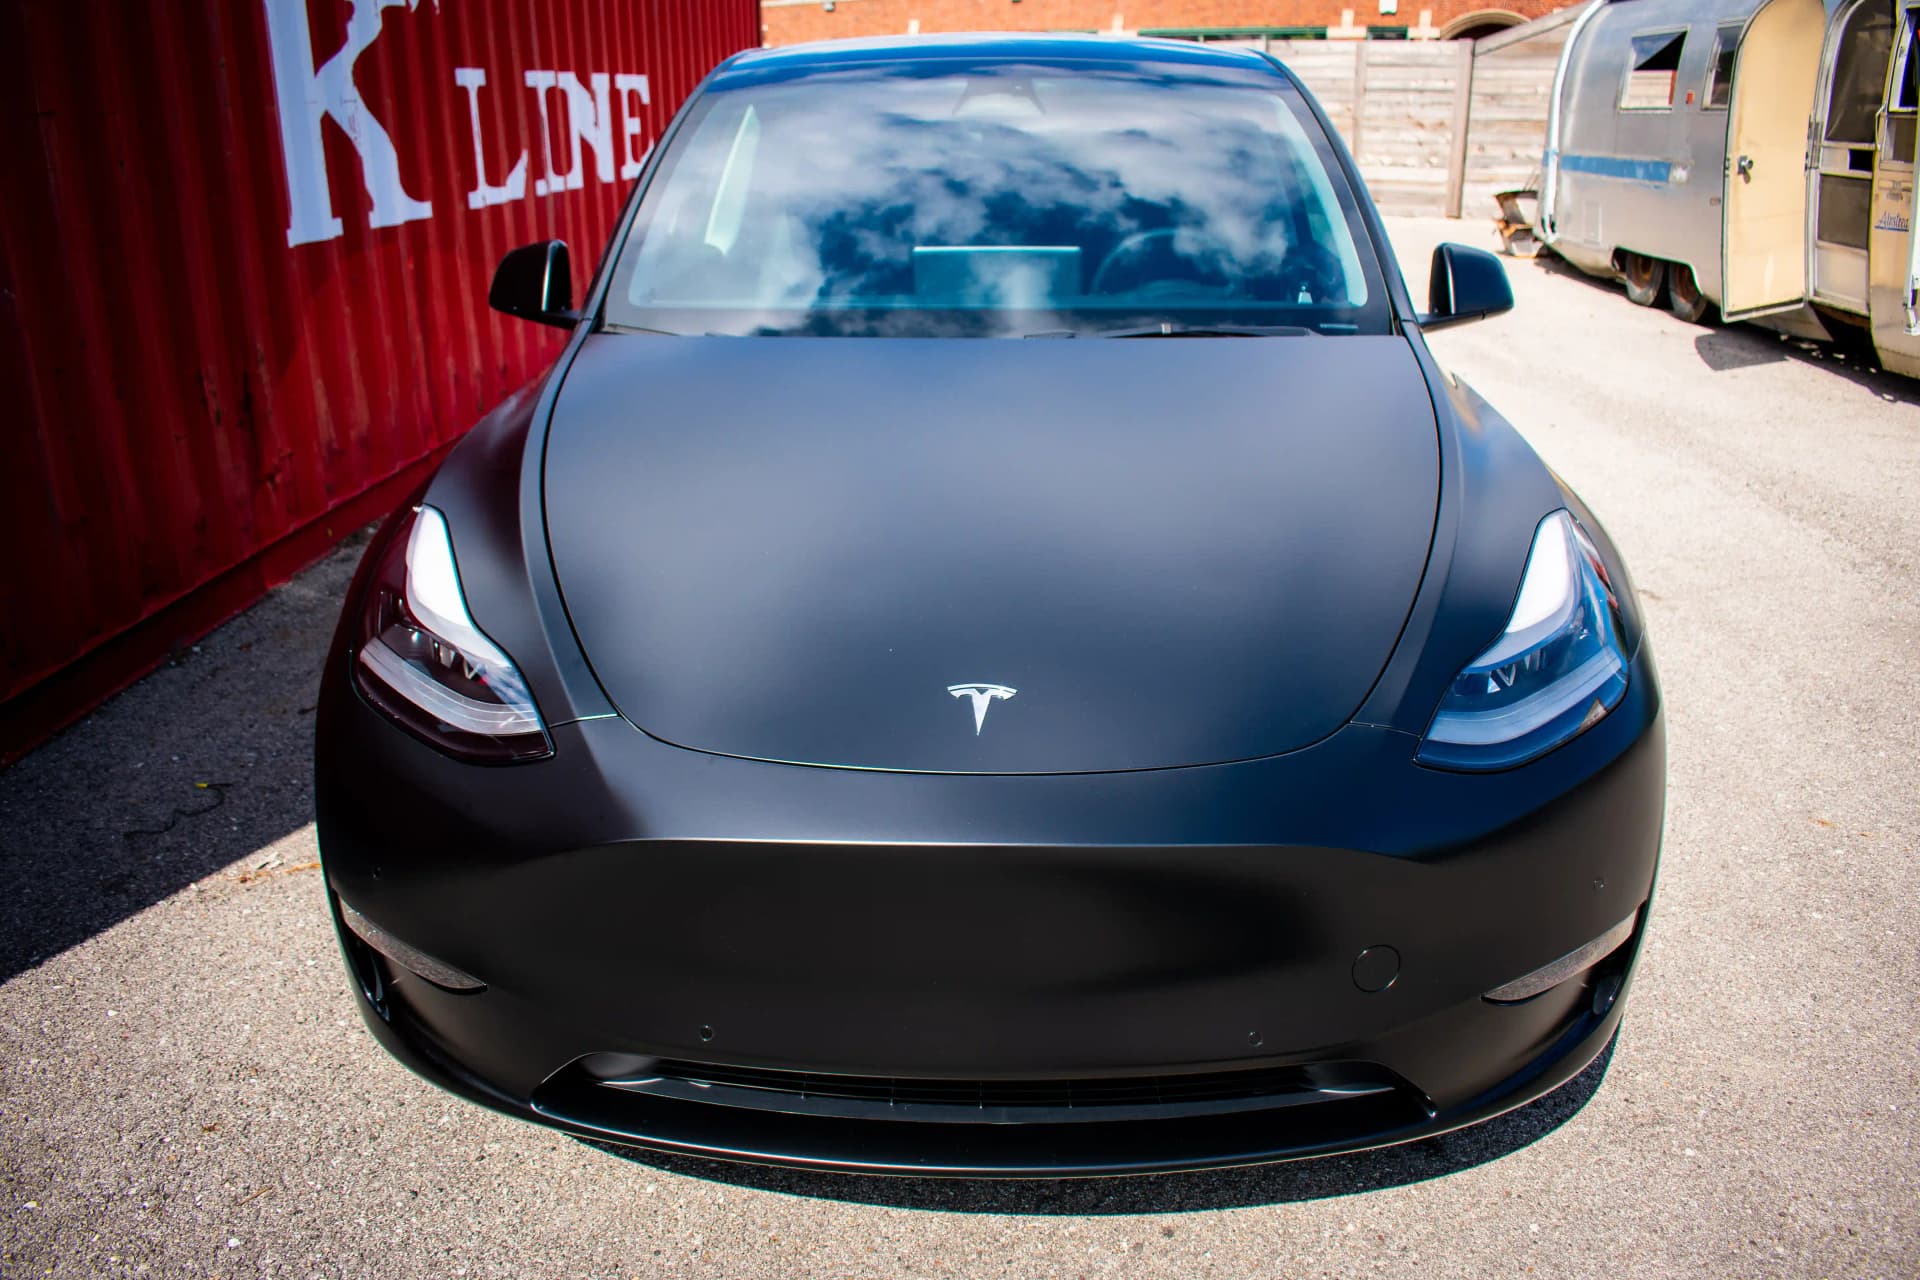
Vinyl wrapping is the process of applying a thin, durable vinyl film to the exterior of a vehicle. This film can be customized in a wide range of colors and finishes, including matte, gloss, satin, and even metallic textures. It offers car owners the opportunity to completely change the appearance of their vehicle without committing to a permanent paint job.
Vinyl wrapping has gained popularity due to its ability to protect the vehicle’s original paint, its reversible nature, and its customizable options. Whether you're looking to refresh your car’s look or protect it from environmental damage, vinyl wraps provide an affordable and flexible solution.
Benefits of Vinyl Wraps
Vinyl wraps offer several key advantages that make them an attractive option for car owners. Here are some of the main benefits of wrapping a car:
1. Paint Protection
One of the primary benefits of vinyl wrapping is the protection it provides to your car’s original paint. The vinyl acts as a barrier against environmental factors such as UV rays, road debris, dirt, and minor scratches. This helps preserve the vehicle’s resale value by keeping the original paint in good condition.
2. Customizability
Vinyl wraps allow you to change the appearance of your car without repainting it. Whether you want a new color, a matte finish, or a unique design with custom graphics, vinyl wraps offer endless possibilities for personalization. Plus, if you ever get tired of the wrap, it can be removed and replaced with a new one, or you can return to your vehicle’s original paint.
3. Cost-Effective
Compared to a full paint job, vinyl wrapping is often more affordable, especially when considering the variety of finishes and effects that can be achieved. It’s a cost-effective way to make your car stand out or protect it from wear and tear.
4. Reversibility
Unlike paint, a vinyl wrap is not permanent. This means you can remove the wrap at any time, revealing the original paint underneath. It’s perfect for those who want to make a temporary statement or protect their car for a specific period.
How to Vinyl Wrap a Car: Step-by-Step Guide
Vinyl wrapping requires precision, patience, and the right materials. While it’s possible to wrap a car yourself, it can be challenging for beginners. Below is a step-by-step guide on how to wrap a car, from preparation to finishing touches.
Materials Needed:
- Vinyl wrap (pre-cut or roll)
- Squeegee or application tool
- Heat gun
- Utility knife
- Microfiber cloth
- Surface cleaner or rubbing alcohol
- Masking tape
- Gloves (optional for better handling)
Step 1: Prepare the Car’s Surface
Before applying the vinyl, it’s essential to clean the car thoroughly. Any dirt, debris, or grease left on the surface can cause imperfections in the wrap.
- Wash the car using a non-wax car wash soap.
- Dry the vehicle completely using a microfiber cloth.
- Use rubbing alcohol or a surface cleaner to remove any remaining contaminants, especially in corners and around edges.
Step 2: Measure and Cut the Vinyl
Once the car is clean, measure the areas of the vehicle you want to wrap. It’s important to cut the vinyl with extra material to account for trimming and adjustments. If you're wrapping the entire car, it’s recommended to start with large, flat areas like the hood or doors.
- Cut sections of vinyl larger than the surface you are covering.
- Use masking tape to hold the vinyl in place while positioning.
Step 3: Apply the Vinyl
This is the most crucial part of the process. Start applying the vinyl to the car by peeling off the backing and carefully laying the vinyl onto the surface.
- Begin in the center and work your way outward, using a squeegee to smooth out any air bubbles or wrinkles.
- Apply gentle heat using a heat gun to make the vinyl more pliable, especially around curves and edges.
- Use the squeegee to press the vinyl down as you go, ensuring a smooth application.
Step 4: Trim and Tuck the Vinyl
Once the vinyl is applied, it’s time to trim the excess material and tuck it around the edges for a seamless finish.
- Use a sharp utility knife to carefully trim the excess vinyl around doors, headlights, and other edges.
- Tuck the edges under the trim using the squeegee or application tool for a clean, finished look.
Step 5: Post-Application Care
After applying the vinyl, use the heat gun to seal the edges and ensure the vinyl is fully adhered to the car’s surface. This step helps prevent lifting or peeling over time.
- Go over the entire vehicle with a microfiber cloth to remove any fingerprints or smudges.
- Let the vinyl settle for 24-48 hours before washing the vehicle or exposing it to extreme conditions.
Why Hire Professionals for Vinyl Wrapping
While wrapping a car can be done as a DIY project, there are several reasons why hiring professionals is often the better choice, especially for those with no prior experience working with vinyl.
1. Precision and Expertise
Vinyl wrapping requires a high level of precision to avoid air bubbles, wrinkles, and misalignment. Professionals have the experience and tools needed to apply the vinyl smoothly and evenly, ensuring a flawless finish.
2. Time and Effort
Wrapping a car yourself can be time-consuming, especially if you're unfamiliar with the process. Hiring professionals saves time and guarantees that the job will be completed efficiently without mistakes.
3. Advanced Tools
Professional vinyl wrap installers use specialized tools and equipment to ensure the vinyl is applied correctly and adhered properly. This includes high-quality squeegees, heat guns, and cutting tools that provide better results than basic DIY kits.
4. Long-Lasting Results
When done by professionals, vinyl wraps are more likely to last longer without peeling or bubbling. Professionals also offer warranties on their work, giving you peace of mind that your investment is protected.
Vinyl wrapping is an excellent way to change the appearance of your car while protecting the original paint. Whether you're interested in giving your car a unique look or adding a protective layer, vinyl wraps offer a versatile solution. However, the process can be challenging for beginners, which is why hiring professionals like Carrectly Auto Care ensures the best results.
For expert vinyl wrapping services in Chicago, visit carrectly.com and schedule an appointment today. Let Carrectly Auto Care help you achieve the perfect look for your vehicle with our professional and high-quality vinyl wrap services!
GET A FREE CONSULTATIONLike this article?